No matter how expensive or well-made your handplane is, there are times when you have to perform a “hard reset” on the tool when it starts to behave unpredictably.
I use my handplanes every day, so I have to do a hard reset almost every year. My smoothing plane and block plane are more sensitive tools and require more frequent maintenance – maybe every nine months or so.
When should you do a hard reset? I do it when problems occur that a simple sharpening won’t fix. Perhaps I get plane tracks in my work I can’t explain. Maybe the plane won’t hold a fine setting the way it should. Perhaps the tool just feels a little rough when I use it.
When I do a hard reset, I perform all the steps below. When I do all the steps, my planes always perform as better-than factory new. Skipping steps means success is not guaranteed (at least in my shop).
Grind, Reshape & Resharpen the Iron
Take the iron to the grinder and reshape the entire bevel. Remove all evidence of the previous edge. Create a burr with the grinder. If there’s a back bevel, remove it. Then reshape the edge appropriate for the type of plane (jack, jointer or smoother). When I do a hard reset I always dub the corners of the iron on a diamond stone to ensure the corners will not dig into the work.
Hone a fresh edge on the iron. If you use micro-bevels (I do), try to make the smallest micro-bevel possible.
Clean, Repair & Shape the Chipbreaker
Chipbreakers cause as many problems as they solve. They are made of soft steel so they are easily damaged when you plane a knot or hit something harder than a knot (such as your planing stop). Minor damage to a chipbreaker can ruin a plane’s performance. Here’s what I do to get it back to factory condition.
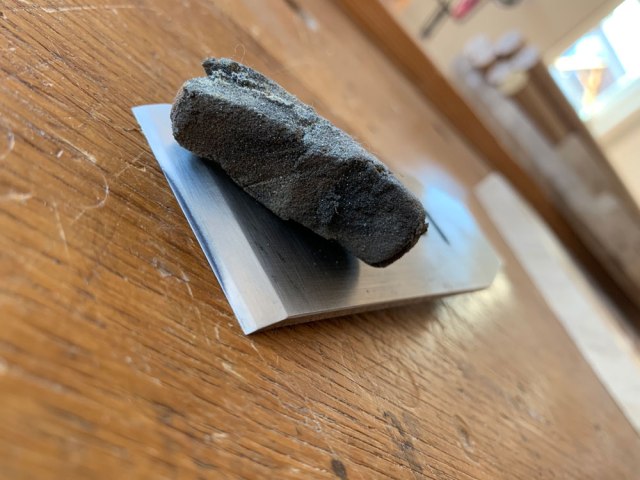
Clean the sap and gunk off the breaker with a rubberized abrasive (such as the Klingspor Hand Block). Hone (or grind) a new edge on the chipbreaker. The leading edge of the breaker takes a huge amount of abuse. A burr or teeny nick on it can destroy the plane’s ability to pass a shaving. Grinding or honing away the old edge will restore its function.
This grinding or honing will raise a burr on the underside of the breaker. Remove this burr with great care on a fine stone. Then attach the breaker to your iron and look for any light between the breaker and the back of the iron. If light can get in, so can a shaving. And that sneaky shaving will foul the plane.
To fix the problem you might have to file the underside of the breaker. You might have to bend the breaker a little in a vise so it clamps down harder on the iron. Hell, you might have to replace the breaker. They are cheap so don’t hesitate to get a new one.
Dress the Sole
Many times “plane tracks” are actually “sole tracks.” A knot or something else hard has scored the sole or the edges of the sole. And this damage has raised a burr that scratches your work.
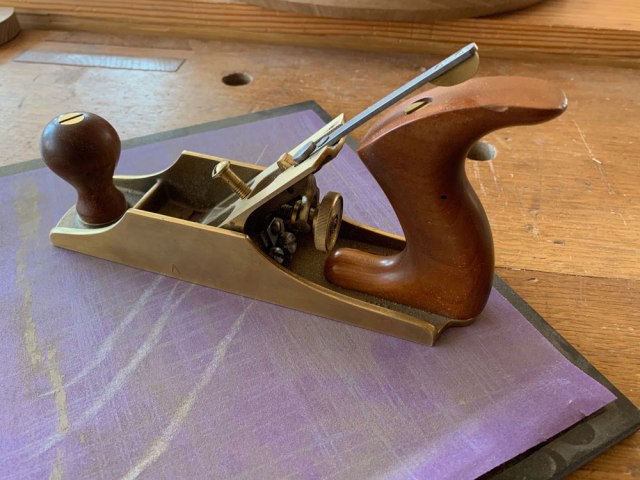
The sole of plane should be as clean and smooth as possible. This is more important than it being dead flat (in my experience). To clean the sole, buy a piece of $5 granite tile at the home center and stick a piece of #220-grit sandpaper to it (I use a spray adhesive).
Disassemble the plane and rub the sole on the sandpaper until the sole is as smooth as a nun’s stomach. (Side note: You’ll read elsewhere that the sole has to be under working tension with the iron and cap iron in place to do this. I have not found this to be the case. I have found no sole deflection in a standard bench plane. Rabbeting planes and shoulder planes are another story.)
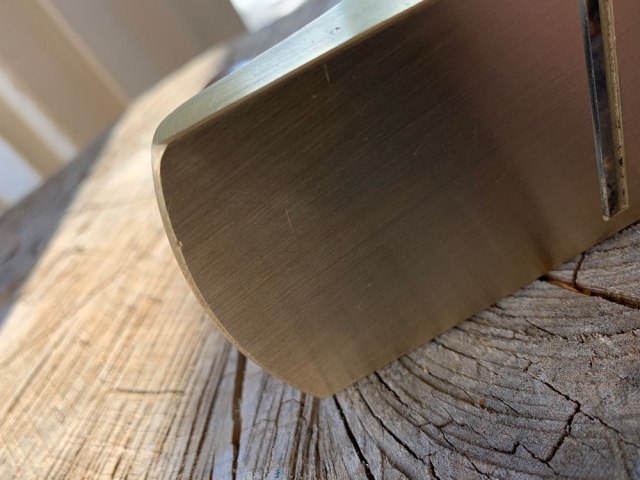
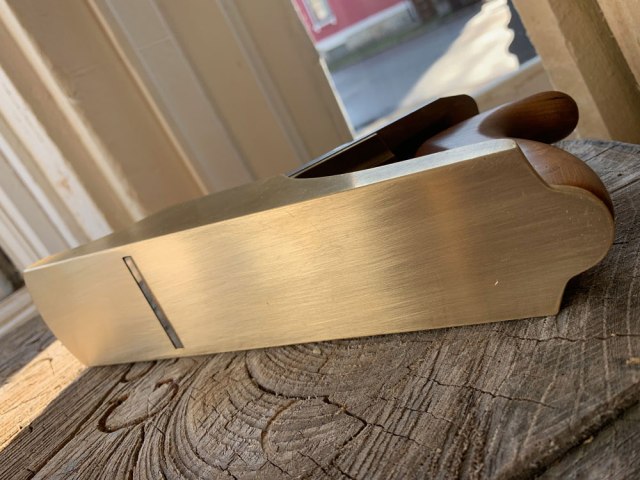
When the sole is clean and smooth, take some #220-grit sandpaper and strongly ease all the edges of the sole. This removes any damage on the sidewalls, toe and heel. And it helps prevent future damage. A sharp corner is more fragile than a rounded one.
Wipe the sole down with oil.
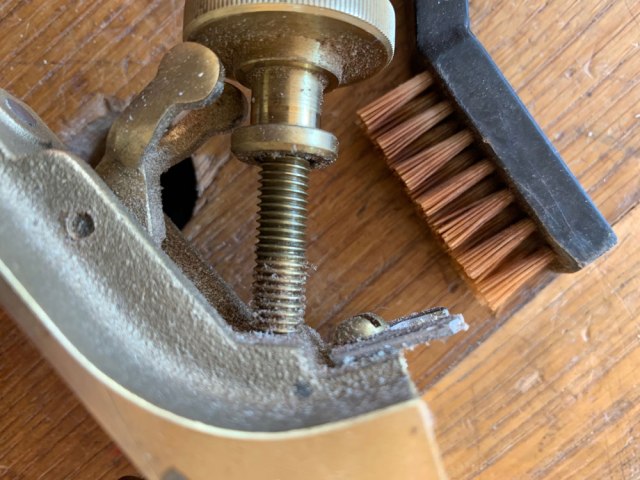
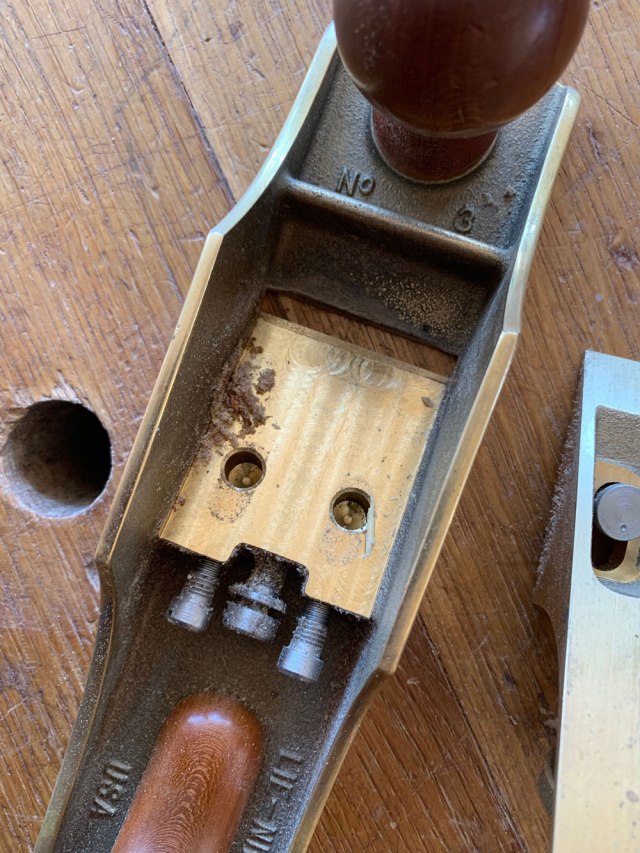
Clean the Interior
Remove the frog. If you do a lot of planing, the interior will be filled with crud. Clean all this out. At this point I always clean all the screw threads that hold and adjust the frog. You might think this is overkill, but crud builds up and there’s a tipping point where everything goes to pot.
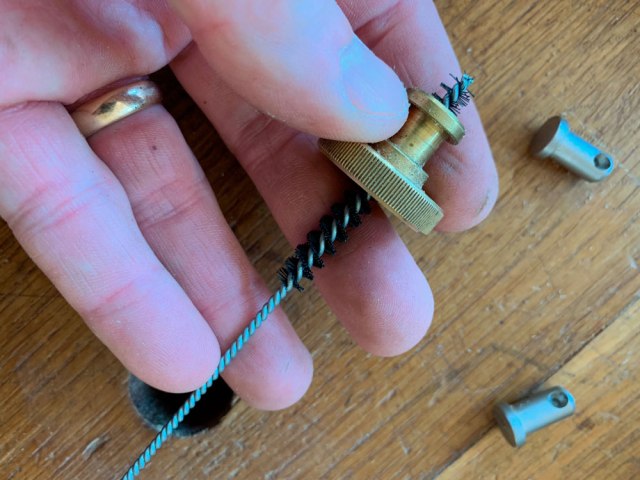
So I remove all the screws and clean them to bright metal with a soft-bristled bronze brush. I clean the interior of the adjustment nut with a stiff-bristled nylon brush. Then I put some light machine oil on all the screws and reassemble everything.
Re-assemble
While everything is apart, tighten the screws on the tote and front knob. Sand off any burrs on the tote (these crop up when the wood gets knocked about). Clean up the lever cap if you like. The lever cap works fine if it’s filthy but it looks better if you clean it off with the rubberized abrasive.
And that’s it. The whole process takes less than an hour and the results are always worth it.
— Christopher Schwarz