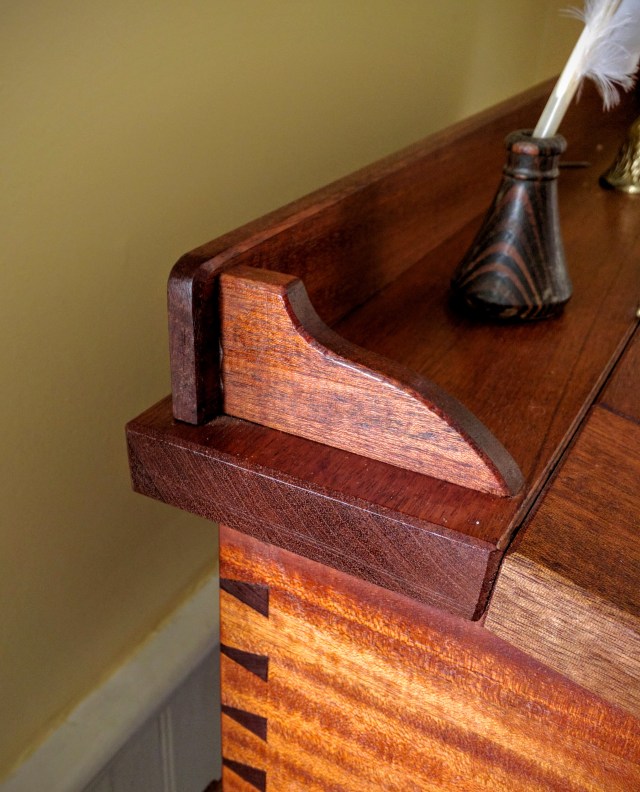
To develop the curves in the various brackets – here the support for the back fence on the lid of a desk – I followed the ancient practice of melding arcs of a circle along a straight line.
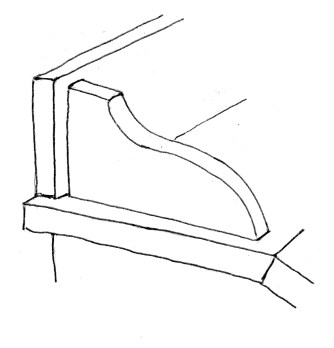
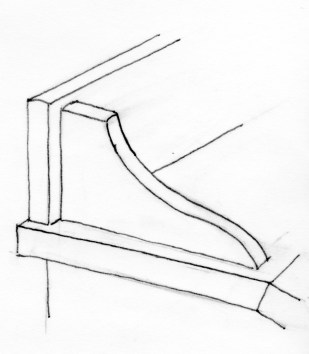
I begin by making a few concept sketches to get an intuitive feel for the curve I would like to see transition the horizontal lid surface to the vertical back fence. I’m going to go with the shape in the first drawing.
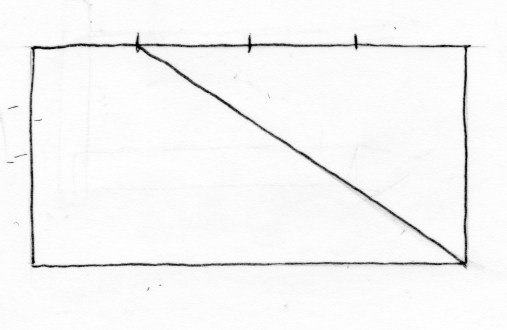
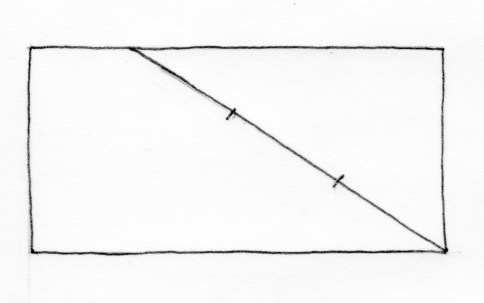
From the sketch, it reveals that the overall form suits that of a 1:2 rectangle. (An octave, by the way – but that’s another story). Next, I divide the horizontal length into four equal segments. The first of these segments defines the flat at the top of the curve. I then draw a baseline for the sine curve from this segment point to the lower right hand corner, then divide that baseline into three equal segments.
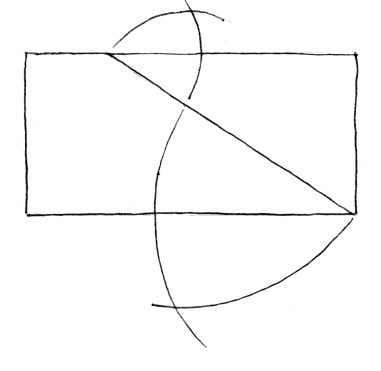
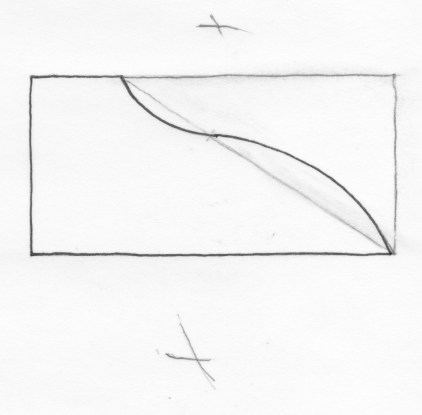
To find the focal point of the arcs – which will each be one-sixth of a circle’s circumference – I set the dividers to the length of the segment (which is the chord of the arc) and swing out intersections to locate the focal point of the arc. Next, without changing the span of the dividers (because the chord equals the radius for sixth sector arcs as you may remember from Mr. Hammersmacker’s seventh grade geometry class), I swing the arc from the focal point to each segment point. The transition between the two arcs is seamless – proven to be so because a line connecting the two focal points will pass through the arc’s transition point.
— Jim Tolpin, byhandandeye.com (drawing by Andrea Love)