The following excerpt is from “Ingenious Mechanicks,” by Christoper Schwarz.
While screw vises were known in Roman times (there is an extant example of one used for jewelry making at Augusta Raurica), they don’t start showing up on woodworking benches until much later. The earliest image I know of is from northern Italy in the early 14th century and shows workers constructing Noah’s ark.
While these vises appear similar to modern vises, there are significant differences. On these early vises, the screw does not move. Instead, there is a movable nut that presses the chop against the work.
These older screw vises are easier to make than a modern vise and can be installed directly into the benchtop without much effort.
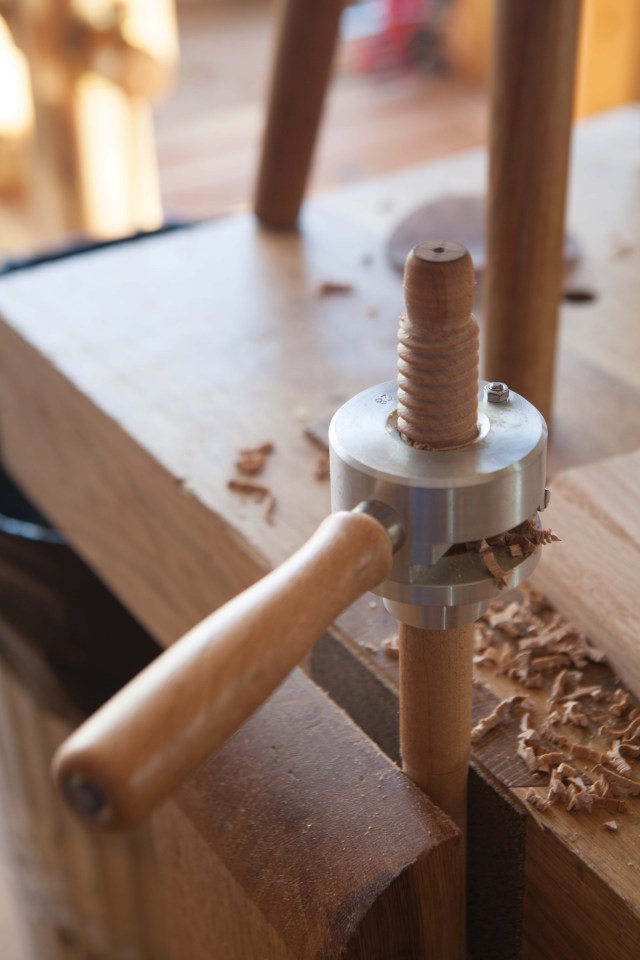
To make these vises, you’ll need a threadbox and a matching tap. These once-common tools are available used, and it’s worth searching out a functioning set because with them you can make all manner of vises and clamps. I also use these tools to make threaded parts for furniture pieces to allow them to be knocked down flat.
Note that the German threading kit shown in the photos cuts a 1-1/8″-diameter (28mm) thread, which is a good size for general workshop use. The 1″ version would also work fine and allow you to use a store-bought 1″-diameter dowel to make the screws.
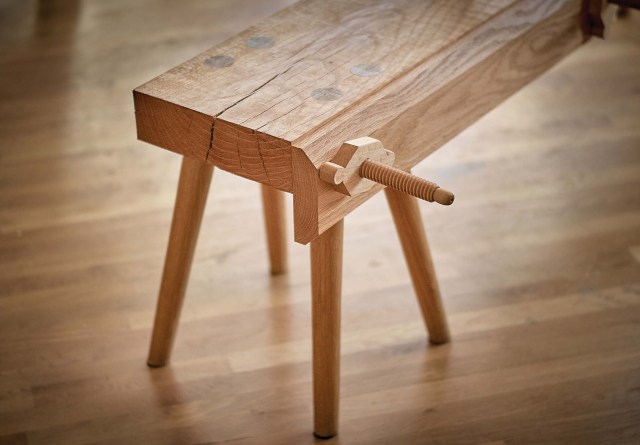
You can make the vise’s jaw any size you desire, including the entire length of the benchtop. Because I don’t build boats or fear the Great Flood, I made the jaw of my vise (sometimes called a “chop”) 1-3/4″ x 6″ x 36″.
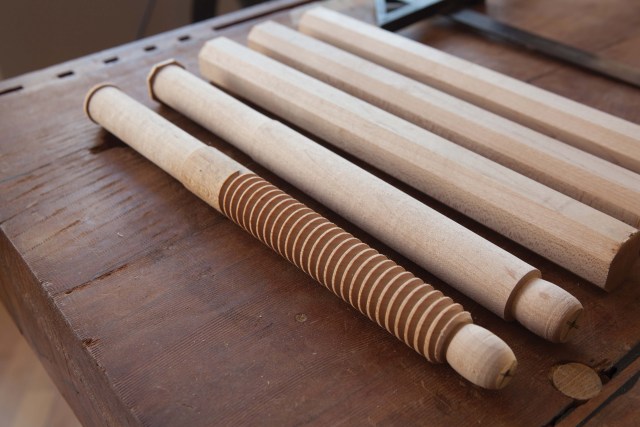
Begin by making the screws. Mine are hard maple, 1.10″ in diameter (which works with the 28mm threading tool) and 12″ long. Turn down 4″ of the length to 1″. This 1″-diameter section will be glued into the benchtop. Thread the remainder of the stick.
Now lay out the location of the through-holes for the screws on the chop. My holes are 30″ apart on centers and located 2″ down from the top edge of the chop. Bore 1-3/8″ holes through the chop at both locations. The oversized holes will allow your chop to pivot and clamp tapered workpieces.
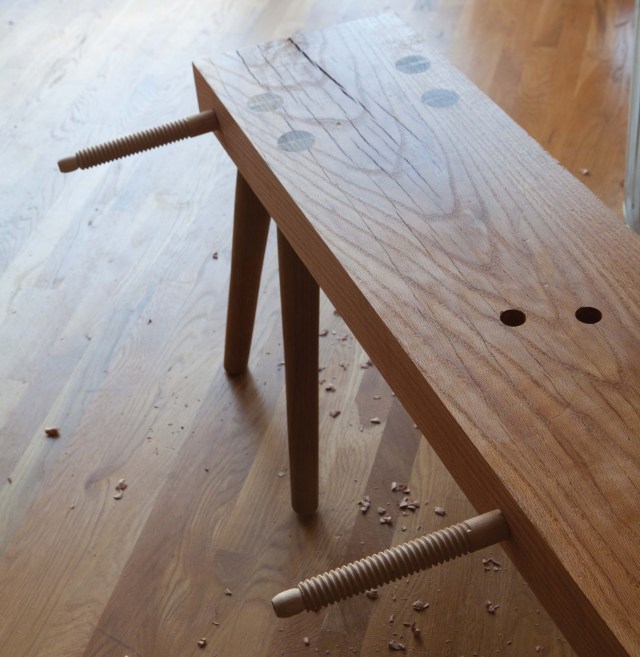
Show the chop to the front edge of the benchtop and use your 1-3/8″ bit to punch centerpoints on the front edge. Drill 1″ holes that are 4-1/4″ deep into the benchtop. Glue the screws into their holes.
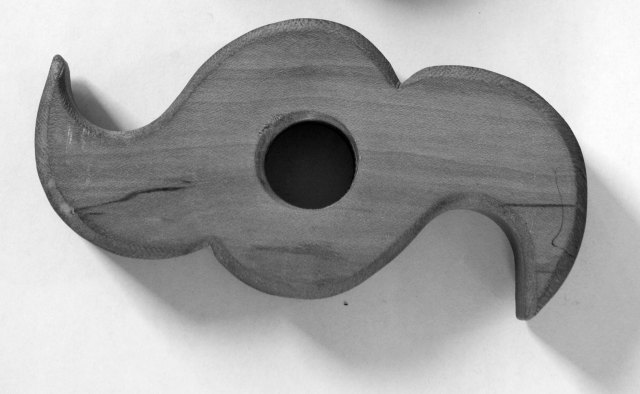
Make the nuts from maple. Before wasting time on shaping the nuts, bore and tap several holes in a board and use the two tapped holes that came out the straightest and cleanest. Cut the nuts to shape using [the figure above] as a guide. Then rasp the corners.
Simple screw vises such as this are nice for working on the edges of chair seats, planing the edges of boards or working on anything that needs to be held securely. I have installed them on low benches and tall ones.
