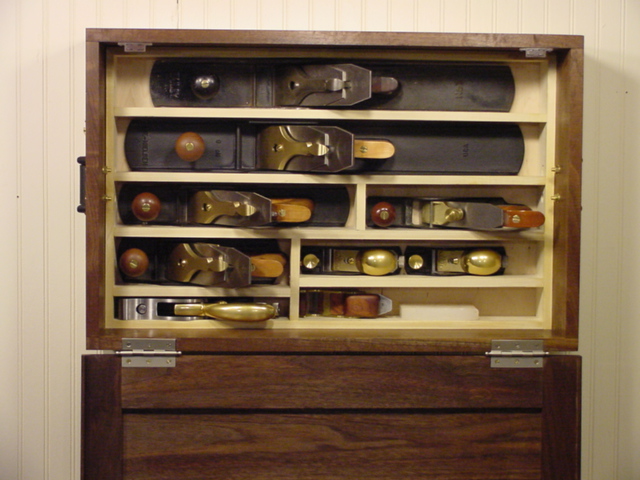
Here are pics of the completed Plane cabinet. I haven’t forgot the issue that was raised in the comments section related to “ramping” the mortis I will get back to that when I have something intelligent to say. Here are some “learning points” I got from finishing this project.
I had a problem installing the molding around the lid. The problem started when I discovered that the lid was a hair too narrow in width, meaning the molding would not go over the box. As with most of my mistakes I have no idea how this happened. No problem, I figured I would plane a shallow rabbet into the area of the molding that went over the box. This worked. Great, on my way to my next mistake.
When making the molding for the lid of the plane cabinet, I thought it would look cool to angle the outside edge of the molding. Not a big deal, just run a plane on half of the molding along it’s length. The result, the molding is thick where it is nailed to the lid and tapered where it covers the box. Being very proud of my use of my planes I cut the mitres for the corners and put my new shooting board to work.
That’s when my next mistake appeared. When trying to plane the mitre I could not get a perfect 45 degree joint. I would run the plane on the mitre and it made a nice cut. I put the two pieces together which did not result in a tight joint. I continued to repeat this process getting the same result. As much as I tried to get a straight mitre, and as much as I checked and rechecked the trueness of the shooting board I could not get the damn thing right! Then I realized that I had created a compound mitre by tapering the molding before making the mitres. The molding sat on the shooting board at a non 45 degree angle causing the problem.I am sure there are a number ofpeople saying “no kidding” or some variation… I should have waited until the molding was attached to the box then used the plane to taper. Once again a time consuming mistake but lesson learned. And once again, it wasn’t the tools.
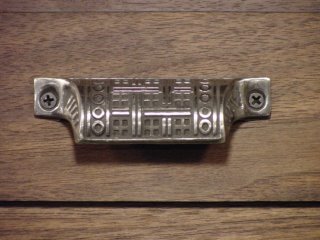
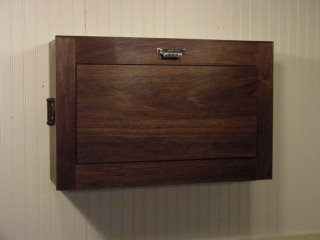
I got cast iron handles from Lee Valley that came with wood screws. I was concerned that the weight of the cabinet full of planes could be too much for the screws. I consulted Chris who said “since they are not my planes…Go for it!” I chose instead to use brass machine bolts with nuts and washers.
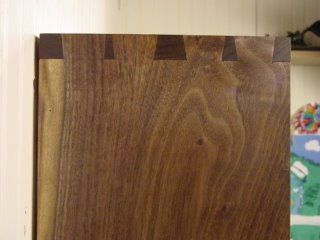
Oh, one last thing. The raised panel moved inside the lid frame. To solve this issue, I shot a brad into the center bottom area of the inside side of the lid, stopping this movement. I put a coat of oil onto the walnut then took 600 grit sandpaper and sanded a second coat of oil into the walnut. This leaves a touch-ably smooth surface. When the oil is completely dry I will add two coats of varnish.
-John