Without a planing stop, a traditional workbench is fairly dining table-esque. So I was eager to get my stop installed so I could use it to finish up the rest of the parts for the bench.
I cut the 3” x 3” x 6” through-mortise in the benchtop using an auger, a jigsaws and a chisel. The mortise is 3” from the edge of the benchtop and 2” away from the front left leg.
(Side note: I meant to film a little video of the WoodOwl bits at work when installing the planing stop. No joy. I’ll film it when I make the holes for holdfasts.)
Here are Roubo’s instructions for the stop:
At three thumbs from the front, you cut through the table a mortise “c,” of 3 thumbs square, which should be perpendicular and well finished on the interior, so that the block “d” [planing stop], which you put there by force, and which you raise and lower with a mallet, does not split the corners, which can happen if it is poorly made. The planing stop should be one foot in length at least, and be of very hard and dry oak, so that it can resist the mallet which one is obliged to hit it with to make it move.
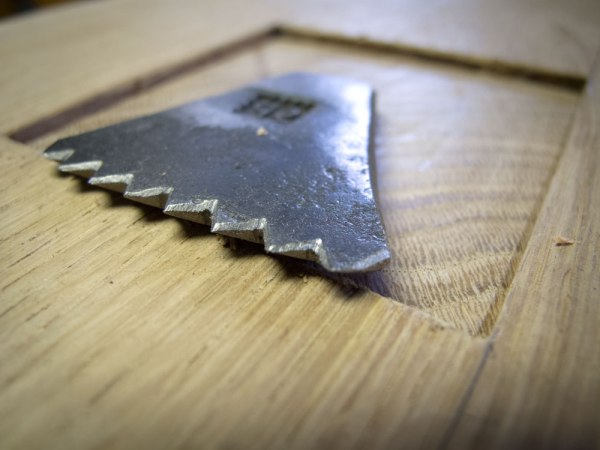
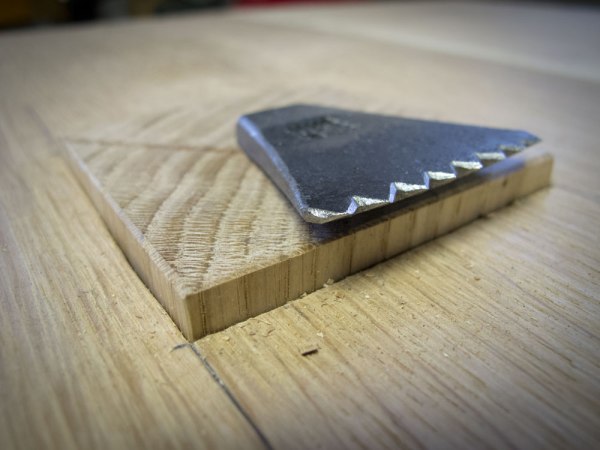
At the upper end of this block is placed a hook of iron, which is furnished with teeth similar to those of a saw, which serve to hold the wood while you work it. One should note that it is level with the top of the block, and the edge with the teeth inclined a bit, so that in the case of very thin works, one is not exposed to the risk of striking the metal hook with the sharpened blade of the plane, which would happen in the backside of the hook is higher than the front. The pin of the hook which enters into the block, should be of a square pointed shape at the end. For it to be good, it is necessary that the pin and the top of the hook not be welded, but rather of one piece which you bend with fire [forged by a blacksmith]. The teeth of the hook should protrude from the front of the block by 6-8 lines. A larger projection would be useless and even harmful, because the tip would be exposed to breaking.
My “hook of iron” was made by blacksmith Peter Ross. Like all his work, the stop is fantastically made. The “pin” or shaft of the hook is nicely tapered. I drove the hook into a stopped and undersized hole on the stop, wedging it in place.
I’ve made many planing stops, so here are some tips:
1. The walls have to dead perpendicular or slightly undercut. Any lumps in the walls will wedge the stop instantly. Check all the walls with a try square before even attempting to drive the stop in.
2. Use really dry oak for the stop – or oak that is definitely drier than the benchtop. The stop can fall out of the mortise during the winter if it’s too wet when you install it.
3. When you install the stop, drive it in with a wooden mallet. When it stops moving down, drive it out and inspect the shaft for marks on the stop. That is where the interference is. Either pare away the junk in the mortise )my preference) or plane away a little of the stop.
Next up: 100 other things I need to do. Then trimming up the front edge of the benchtop.
— Christopher Schwarz