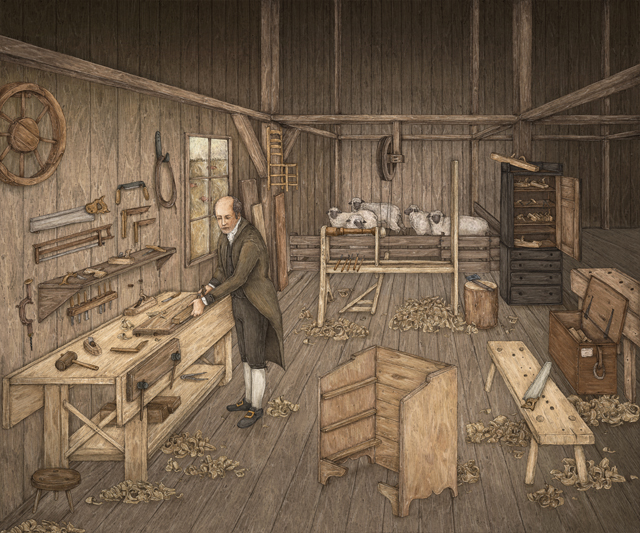
Editor’s note: One of the ridiculous and wonderful things we did for Joshua Klein’s book “Hands Employed Aright: The Furniture Production of Jonathan Fisher (1768-1847)” is to commission a painting of Fisher in his workshop. Klein came up with the idea as a way to show Fisher in his habitat, surrounded by many of the tools and objects connected to his life. After reading the first draft of the book, the painting is a delight to explore. In this blog entry, artist Jessica Roux explains how she created the illustration for the book.
As an illustrator, I love tackling exciting projects that combine lots of texture and old world beauty, while offering an opportunity to learn something new. When Joshua Klein contacted me about recreating a workshop scene for his upcoming book on Jonathan Fisher, I knew this project would be just that.
My work is not just drawing a picture; it involves researching, learning and translating articles and stories into compelling visual messages. I’ve worked for a variety of clients, from distilling complex economic concepts for the Sunday Business section of The New York Times to working for Smithsonian magazine on a piece about Abraham Lincoln’s funeral. I love learning new things, so when I’m presented with an opportunity to explore something I’m unfamiliar with, I take on the challenge.
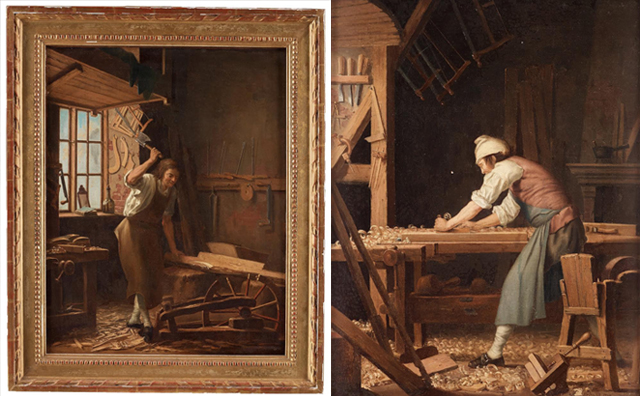
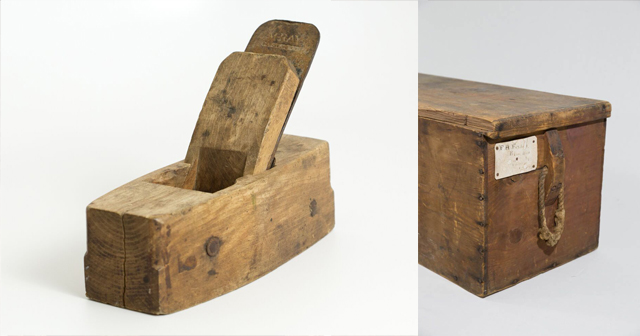
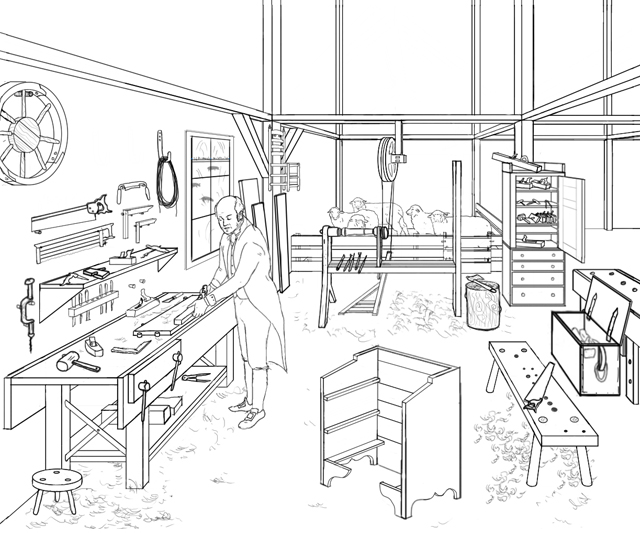
The initial inspiration board Joshua put together for me was compelling. Many of the images had beautiful, rich atmospheres of golden light and warm brown colors (see above). He also provided a rough sketch and lots of reference imagery, including a lot of Fisher’s own tools.
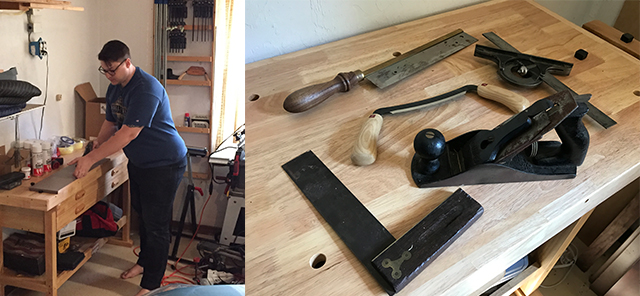
From there, I created a sketch digitally in Photoshop, taking the technical imagery and translating it into my own drawing style. I had some help from my husband, who was kind enough to let me use him for reference in his own shop. He also showed me some of his planes and old tool collections so that I had a better understanding of size, proportion and detail.
After nailing down some more technical aspects of the sketch, we were ready to go to final. I create my finished illustrations by first creating a graphite pencil drawing, then adding color by digitally painting in Photoshop. The graphite drawing allows for a lot of texture to be added, fleshing out the contour sketch into a more realistic, dimensional space. I also really love drawing wood grain, so it was especially fun to work on a piece that incorporated so much of it.
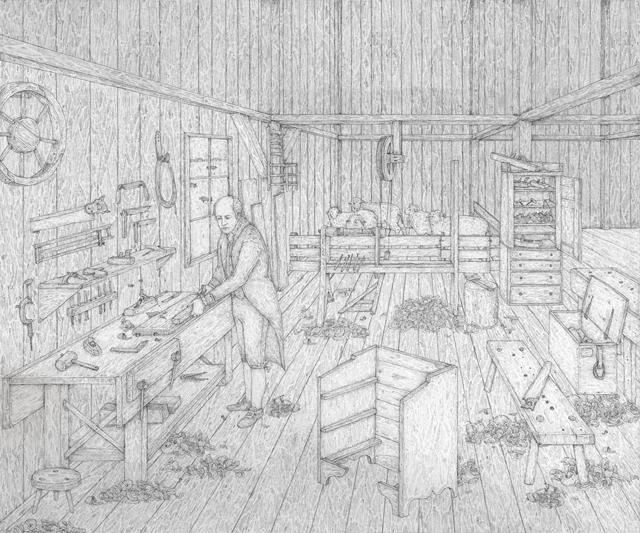
Once the graphite pencil drawing is complete, I scan it in at a high resolution so that it can be reproduced at a larger scale than the drawing itself without loss of quality or detail. Next, I digitally paint the image in Photoshop. I first do a simple color sketch underneath the graphite drawing in order to get a sense of light and to establish the color palette.
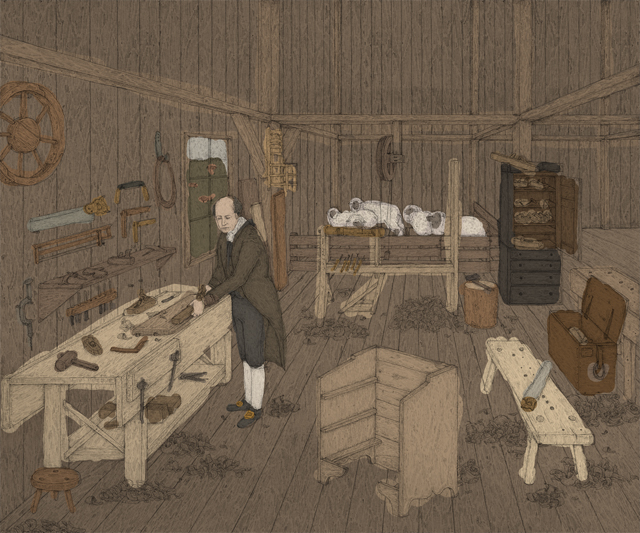
Then I block in the colors underneath the drawing and add additional highlights, shadows, details and contrast. I like to move around the illustration going from object to object, getting the details just right, then moving onto the next item. I add adjustment layers when the piece is finished to brighten it up and give a more cohesive feel to the illustration.
I’m pleased with how the final illustration looks – it has a similar feel to the inspirational images, and it ultimately captures a sense of who Jonathan Fisher was and how he worked.
— Jessica Roux, http://jessica-roux.com