Note: This article is part of an ongoing series about the details of tool chest construction.
When building a tool chest, it’s tempting to get to the dovetailing as soon as possible. However, the work you do before the dovetailing is more important in the long run. (Even crappy dovetails hold nicely after hundreds of years.) And so I’m afraid we’re going to talk about a topic that bores people to tears: stock preparation.
Stock Selection
I use white pine for tool chests whenever possible. It’s lightweight, easy to work and plenty strong. My second choice is poplar (Liriodendron tulipifera), which is dirt cheap here in Kentucky. Poplar is easy to work and available in wide widths. The major downside to poplar is its smell. Some people find its odor to be as pleasing as dog poo. It doesn’t bother me.
Crosscut in the Rough
After I purchase my stock, I immediately crosscut it to length while it’s still rough and sticker it for a couple weeks in the driest area of my shop. I check the moisture content with a meter to ensure I don’t encounter any surprises. Boards move the most while losing their last few bits of moisture as they reach equilibrium. So let them do this while in the rough.
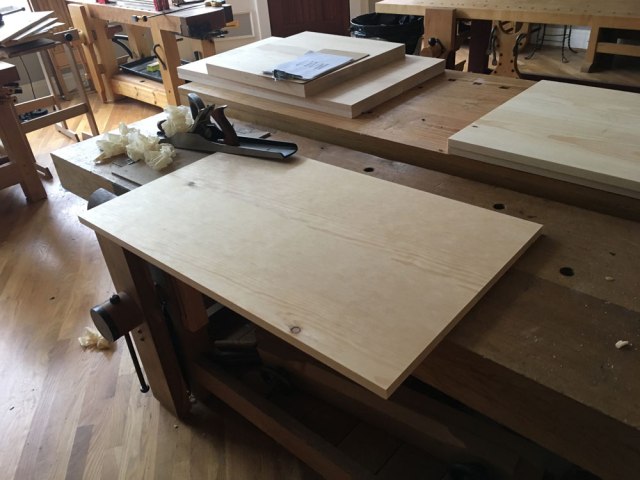
Making Panels
Tool chests are painted, so you don’t have to fuss over the grain patterns in the panels. But you should fuss over the grain direction. After jointing and planing the boards to size, orient the boards in each panel so the grain direction runs the same way.
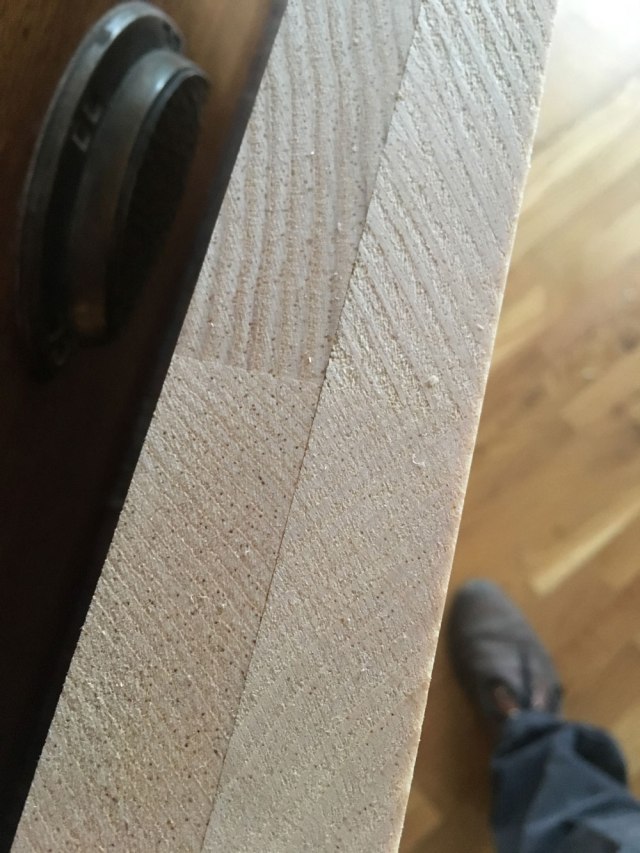
Also, and I know this will make people howl, orient the heart side of the boards so they will face the outside of the tool chest. Doing this will ensure the corners of your tool chest will stay as tight as possible. That’s because when boards warp, the bark side becomes concave and the heart side becomes convex. So putting the heart side facing out will force the corners of your carcase together. If the bark side faces out there is a danger that the corners will open.
This is a fine detail because the carcase is enclosed by dovetailed skirting. But you might as well do it right.
Squaring and Planing
After your panels are glued up, square them up. Don’t trust your machines to do this. Check the ends with a reliable framing square and tweak the panels with a handplane. Then remove all the machine marks on the boards’ faces with a handplane. Do this before dovetailing.
If you handplane your panels after dovetailing, you can create gaps in your joints. You can plane the tailboards without creating gaps, but planing the pinboards after the joints are cut is asking for trouble.
With your panels square and clean, you are ready to cut dovetails. Details on that operation next.
— Christopher Schwarz