The text and images below are excerpted from Christian Becksvoort’s forthcoming book…for which we don’t yet have a title. So for now, I’m thinking of it as “Becksvoort’s Builds, Business & Inspiration” – until something catchier comes to mind. Consider this an amuse-bouche; the main meal will arrive probably in the late spring/early summer.
— Megan Fitzpatrick
There are several options when it comes to stopping drawers. If you’re making lipped drawers, your problem is solved. The lips (usually only on three sides – the bottom will have the moulding profile, but no lip) not only stop the drawer, but also cover the small gap on the sides and the somewhat larger gap on top.
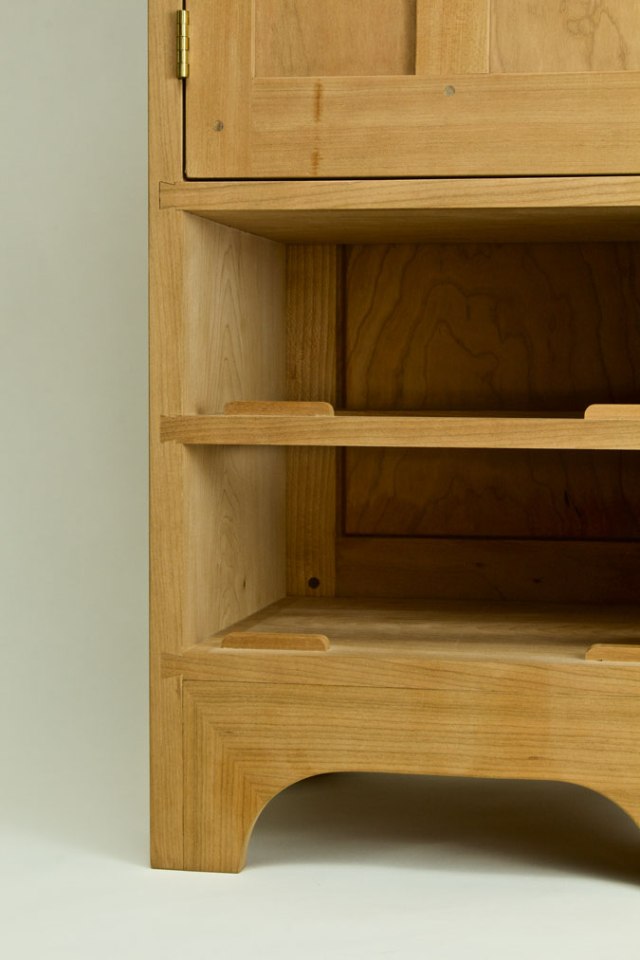
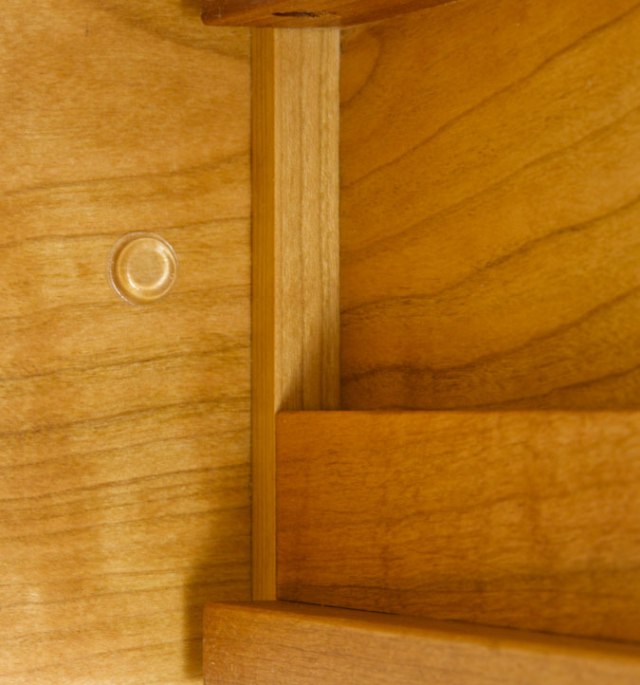
Flush drawers, sans lips, are another story. My favorite method is the front underside stop. It keeps the drawer front flush with the cabinet, no matter how the cabinet side moves. In order for the drawer bottom not to get hung up on any part of the web frame, there is usually about 1/4″ to 5/16″ (6.4 to 7.9 mm) clearance below the underside of the drawer bottom. Obviously, that wood under the groove is what supports the drawer bottom. That space allows for 1/4″ (6.4 mm) stops to be routed and glued into the divider (one for small drawers and two stops for wider drawers). I usually rout a groove into the divider, close to both sides, but with enough clearance to allow the drawer side to pass. The groove is a bit more than the thickness of the drawer front away from the front of the divider. Once the stop is glued into the groove, I like to add a finishing touch. On all my flush drawers and doors, I add a leather bumper to quiet the sound of the drawer or door closing. That’s the sound of quality.
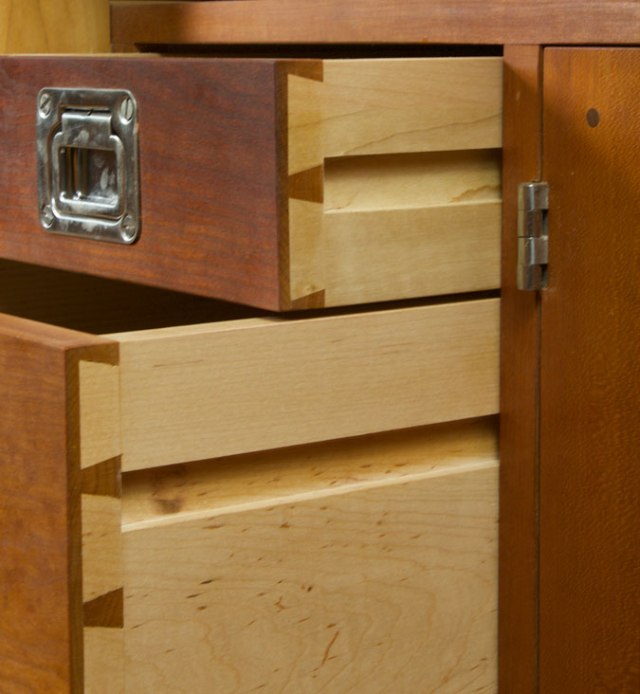
If, instead of using web frames, you’re making side-hung drawers, the slot on which the drawer rides acts as a stop. Here, too, you can add a bit of leather or even a self-adhesive rubber or silicone bumper.
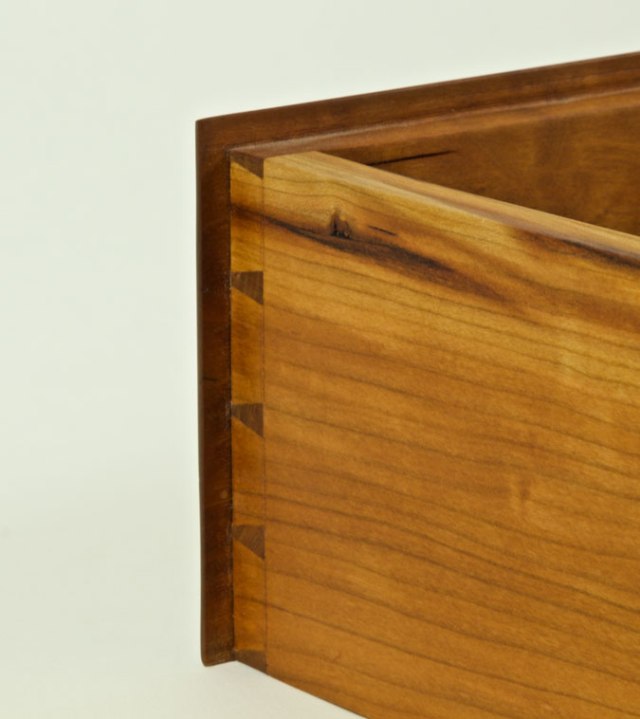
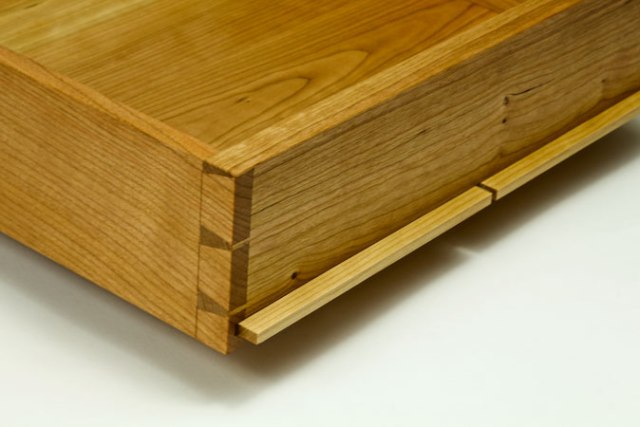
Another, more traditional, method is to let the drawer bottom protrude beyond the drawer back. This works best if your primary and secondary wood is of the same species. Because solid-wood drawer bottoms have the grain running side to side, the drawer bottom will move in conjunction with the cabinet side. The drawer stays close to flush year-round. Obviously this doesn’t work with a plywood bottom.
What about drawers in a frame-and-panel cabinet? Because those cabinets don’t change in depth, that’s pretty easy and straightforward. The drawer can butt right up against the back. However, when I make frame-and-panel cabinets, I like to make the drawers a bit shorter than the inside front-to-back opening. That allows me to add a small block or a thick bumper to the back of the drawer for a perfectly flush front, as well as a quiet closing drawer.
On a few antiques, I’ve seen flathead screws driven into the drawer back as adjustable stops. Not all that classy, but it works.
— Christian Becksvoort