This is an excerpt from “Carving the Acanthus Leaf” by Mary May.
STEP 25: Round the Curled Leaf Tip. Using a #3, 14mm, round the curled lobe at the tip of the leaf and lower the outer edge of the leaf where the multiple serrations are located.

STEP 26: Carve the Underside of the Leaf. Refer to the template to draw the details on the curled leaf tip. With a #7, 6mm, a #7, 10mm and a #7, 14mm, hollow the underside of the leaf and leave a sharp, high edge down the center of the lobe. The small leaflet should also be lowered at this time.


STEP 27: Carve the Crescent Moon on the Curled Leaf Tip. Using a #7, 6mm, make a vertical cut to define the outside edge of the curled lobe. Make a second cut at 45° to notch this section out. Round this small serration slightly with the same gouge.


STEP 28: Make Serration Notch Cuts. With a #5, 8mm, make notch cuts along the serrations edges in the outer edge of this lobe and the small leaflet.


STEP 29: Carve the Secondary Veins. Draw the secondary veins and use a #11, 1mm veiner to carve them.


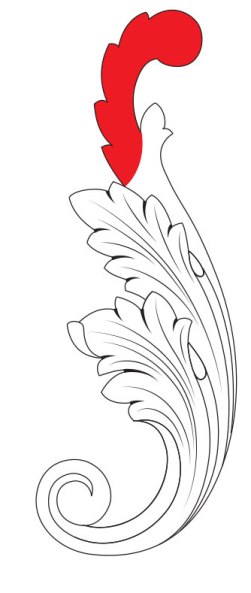
STEP 30: Carve the Notch Cuts on the Pipe. With a #7, 6mm, carve three wrinkle notch cuts along the pipe. Make a vertical cut on the top edge of the wrinkle and an angled cut on the lower edge meeting at a sharp inside corner. These should reduce in size as they go down the pipe.


STEP 31: Undercut the Edges. With various curved gouges that fit the edge of the leaf, make undercuts along the entire edge to remove any of the original saw cuts.

Now that you have mastered this traditional leaf, take this design, carve another leaf in reverse and decorate the top of a mirror frame, or a headboard. Or … stay tuned for the next chapter where you can add a curled leaf onto this design. Feel free to explore new designs and add more “twisting leaf tips” curling at the ends of the lobes. Make it come alive with twists and curves!
— Meghan B.