The following is excerpted from “The Anarchist’s Design Book,” by Christopher Schwarz – it’s a short sidebar from the chapter on building a staked sawbench (the sawbench, which also works as a stool, is more than a handy shop accessory; it’s a great introduction to making staked furniture of all sorts, including chairs).
There are historic furniture forms out there that have been around for almost 1,000 years that don’t get written about much. They are simple to make. They have clean lines. And they can be shockingly modern. This book explores 18 of these forms – a bed, dining tables, chairs, chests, desks, shelving, stools – and offers a deep exploration into the two construction techniques used to make these pieces that have been forgotten, neglected or rejected.
You can build an entire houseful of furniture using these two methods – what we call “staked” and ”boarded” furniture. They are shockingly simple for the beginner. They don’t require a lot of tools. And they produce objects that have endured centuries of hard use.
But this isn’t really a book of plans. “The Anarchist’s Design Book” shows you the overarching patterns behind these 18 pieces. It gives you the road map for designing your own pieces. (Which is what we did before we had plans.)
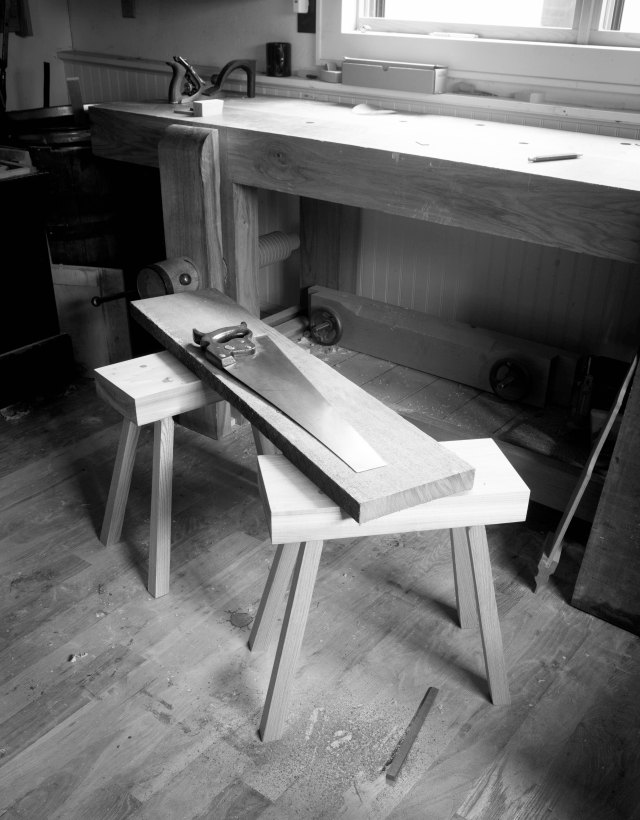
Once you own a pair of sawbenches you will wonder how you worked without them. Even if you don’t do much work with handsaws, sawbenches are handy platforms for projects in progress, stacking parts and sitting on while you work.
But most people use them for handsaw work. Here are some tips on sawing with them.
If your sawbenches are different heights (even slightly) then work on the tall one and use the shorter one to support your work. If you work on the shorter one, your saw will constantly get pinched in its kerf.
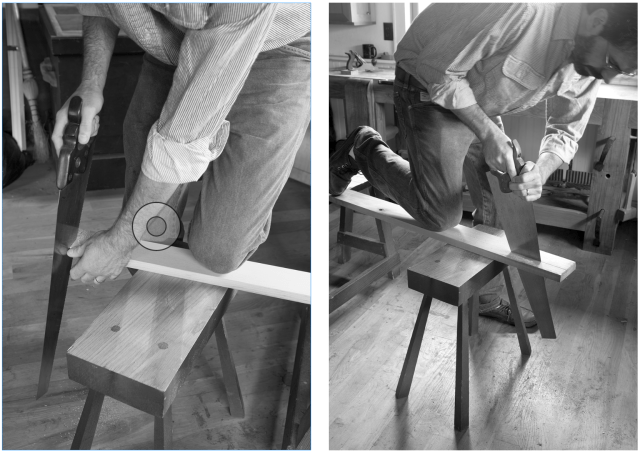
When crosscutting on a sawbench, your legs are the clamps. Bend your off leg and rest it on top of the work on the sawbench. Pull your dominant leg up to contact the work (if possible) so the work presses against your leg.
Now you can saw the piece and it will remain stable. Your off leg supplies the downward pressure. Your dominant leg prevents the work from sliding laterally as you saw toward yourself.
I’m not a fan of ripping on sawbenches. I prefer to rip at the bench. If you do need to make long rips on the sawbench, I find it best to have three sawbenches: one to work on that is between a second that is infeed support and a third that is outfeed support.
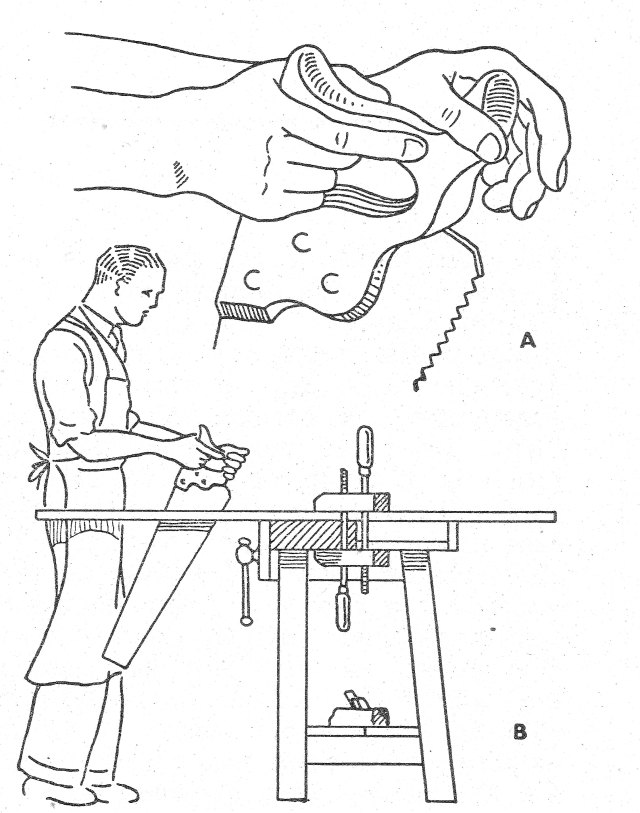
One style of French ripping has the worker sitting on the work on the sawbench. Note that the saw’s teeth are pointed away from the operator.
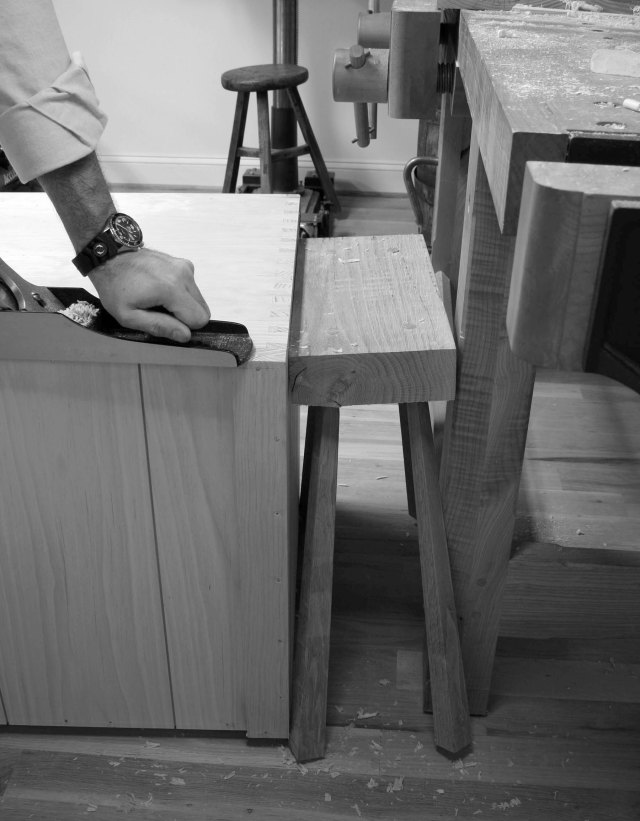
I use my sawbenches for many other operations. One of my favorites: I place an assembled carcase on two sawbenches and brace the carcase against the workbench. I can then easily plane the carcase to level its dovetail joints or whatever is sticking up. Or, if that doesn’t quite work, the sawbench can be a spacer between the carcase and the bench.