This is an excerpt from “Campaign Furniture” by Christopher Schwarz.
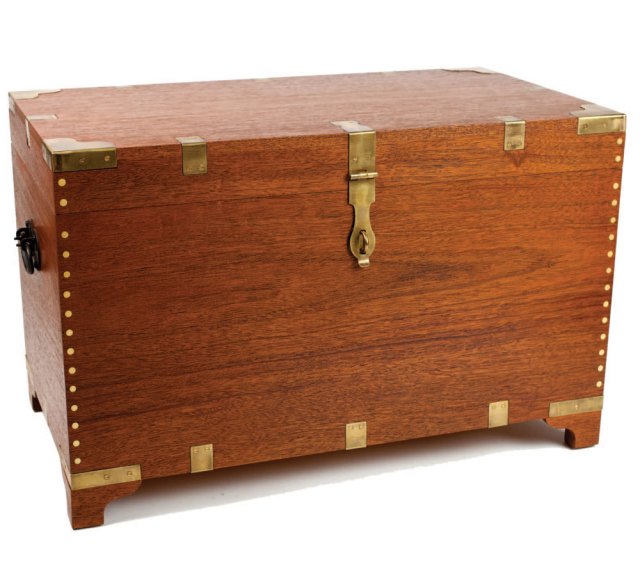
One of the more common pieces of campaign furniture is the simple trunk, sometimes also called a “strong chest,” “traveling chest” or “barracks chest.” The one shown in this chapter, however, has some unusual details you should be aware of. More about those oddities in a few paragraphs.
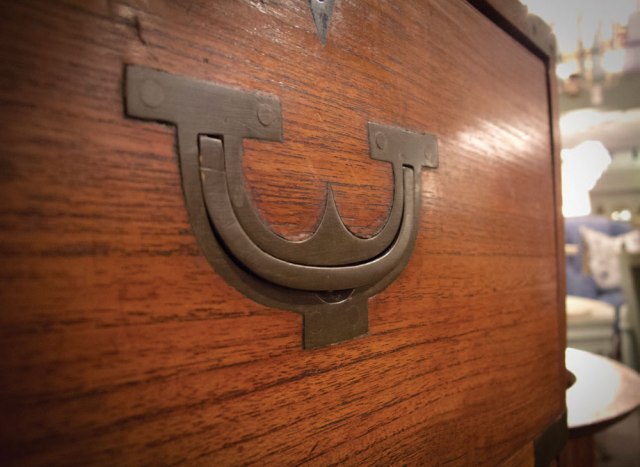
Trunks typically have square ends – both the height and depth of the trunk can be roughly 15″ to 25″. In general, they are somewhere between 25″ to 40″ wide. The chests are frequently dovetailed at the corners and bound with brass corners and other brass straps. Despite the dovetails, many of the lids and bottoms of trunks were merely nailed to the carcase. It is not unusual to find a trunk with a lid or bottom that has a split.
The trunks almost always had a lock or hasp to protect the contents.
Many of the trunks were raised on some sort of foot. The foot could be as simple as a sledge (sometimes called sled) foot – just a square of wood – all the way to a complex bracket foot.
Inside, many trunks had a small till with a lid, much like a typical household chest. This till stored small items and its lid served as a stop to hold the trunk’s lid open. The chests are typically made from mahogany, oak, teak and camphorwood, which naturally repels moths.
The trunk shown here is typical in many of its attributes except for the joinery at the corners. Instead of dovetails, I have chosen an uncommon (but definitely reliable) type of joinery found on trunks from the West Indies.
That’s a Rivet?
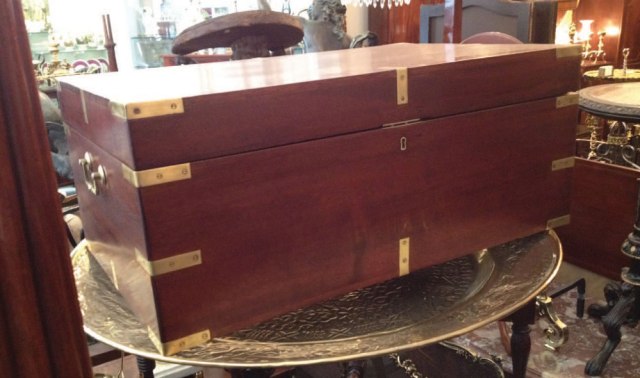
I first encountered this joint while haunting antique stores on King Street in Charleston, S.C. One of the trunks there had a series of brass circles that ran in a line up each corner. At first it looked like brass inlay, which is a common feature of some Anglo-Indian campaign pieces.
Instead of decoration, the brass circles turned out to be the joinery.
The dealer, who had imported campaign furniture from the West Indies for decades, explained that some collectors referred to that joint as a “rivet.” He explained that the rivet was nothing more than a brass screw that had been driven in so its head was still proud. Then the screw head was filed flush to the carcase, eliminating the slot.
It’s a surprisingly simple and (I think) attractive way to make a strong joint that looks a lot better than having 12 wooden screw plugs lined up on the corners.
This approach shows up in other applications in the woodworking field. Sometimes, screw heads are filed flush with a piece of hardware. And if you’ve ever seen infill handplanes, you know it was common for the maker to screw in the wooden infills and the lever cap then file off the heads – making for a clean sidewall of the tool.
This trunk is based on several smaller English examples I’ve studied that were dovetailed. But instead of the dovetails, I substituted “rivets” as the joinery to make the trunk look more like one from the West Indies. If you want a more English look, cut through- or full-blind dovetails at the corners. The other decorative details, such as the brass corners and bracket feet, pretty much remain the same.
Almost a Butt Joint
The joinery of the trunk is as simple as a modern kitchen cabinet. The ends are captured by 5/16″-deep x 5/8″-wide rabbets cut on the ends of the front and back pieces. This corner joint is first glued then later screwed. The bottom is captured in a groove plowed in the ends, front and back.
The lid is built a lot like the case below. The ends are glued into rabbets in the front and back pieces. The lid is then nailed on top of that assembly.
When building the carcase, there are two basic paths you can follow. You can build the entire chest and lid as one unit then saw the lid free from the carcase. Or you can build the lid and carcase separately.
I took a path between these extremes. I cut the joints on all the parts. Then I ripped the lid parts free from the carcase parts. I assembled the lid and carcase separately. Why? I don’t like pushing a big assembled carcase over a table saw. But all three approaches work. Choose one you like.
— MB