An excerpt from “Make a Joint Stool from a Tree” by Jennie Alexander and Peter Follansbee.
Most joined stools have a bit of turned decoration between the squared blocks containing the joinery. This turned work is simple enough, but entire books and courses are dedicated to learning the turner’s art. Refer to the bibliography for full details on turning. Here we will only touch on the techniques required to get the stool done.
We use two different lathes. (Jennie) Alexander uses a modern electric lathe; (Peter) Follansbee uses a shop-made pole lathe. The techniques of organizing and cutting the decoration remain essentially the same. If you use an electric lathe, work at the slowest speed available. The following description refers to Follansbee’s pole lathe.
Introduction to the Pole Lathe
The pole lathe is often depicted in period artwork; its basic notion is always the same while the details vary. The 1635 engraving by Jan van Vliet shows a simple lathe with the horizontal members fixed to uprights, and between them a movable puppet to secure the workpiece upon the iron points, called the screw and pike. A pole in the ceiling connected by a cord to a foot treadle completes the arrangement. The turner steps on the treadle to begin the action. The workpiece, having the cord wound around it, spins toward the turner on the downward stroke. This is when the cutting action takes place. At the bottom of the stroke, the turner releases the pressure and the pole springs back, spinning the workpiece backwards. This reciprocating motion is often misunderstood. Many think that you should withdraw the tool on the return stroke. In fact, the workpiece just rubs against the cutting edge as it travels back. Keep the tool in place so you can resume cutting as it comes around again.
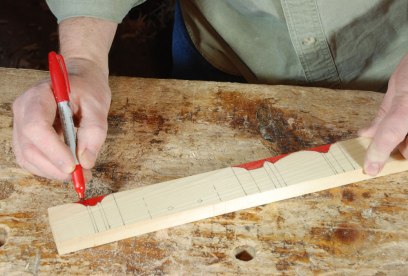
From the story stick, your stiles should have scribed marks defining the limits of the turned portions: a central section about 9-1⁄2″ long between the blocks and the foot below the bottom block. It’s best to carry these lines all around the stock.
Mark and Mount
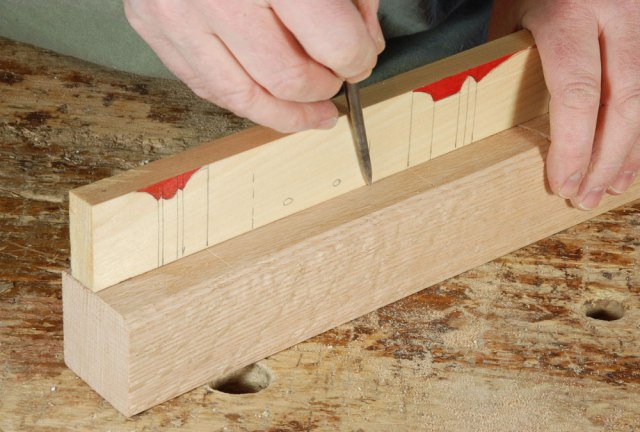
Mark the centers of your stiles. One method uses a miter square to strike diagonal lines across the end grain. Keep in mind that the cross-section might not be a fully squared piece, so you will need to line up the diagonals from two outer corners. Another method is to use a compass set to nearly 2″ to scribe the circle defined by the square. A little trial and error with this method will find your centers.
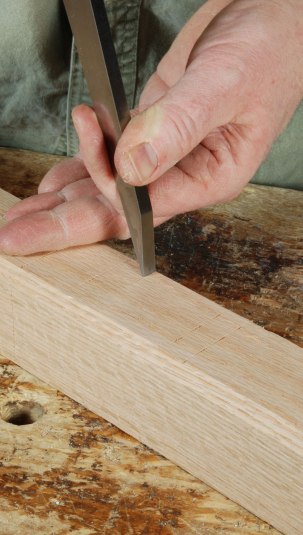
Once you locate the centers, emphasize them with a centerpunch and apply a bit of beeswax. Then mount the workpiece on the pole lathe for turning. Wrap the cord twice around the midst of the stock, then line the stile up with the centers and tighten the wedge that secures the moveable puppet. Get in the habit of placing each stile on the lathe in the same orientation. In this case we usually work with the foot of the stile to our right. Where the foot goes doesn’t matter as much as consistency does; the cuts are easiest when you make them in the same order on each stile.
Once you’re satisfied that the turning is mounted properly, then check the tool rest. Adjust it so it is as close to the turning as possible, and that it is made tight. That can require some fumbling around with wedges and such, but it takes only a minute.
Roughing
Start with the largest gouge and lightly remove the corners off the stock between the blocks and at the stile’s foot. At first cut well inside the scribed lines. The idea is to get the stock roughed out as quickly as possible. Once it’s round enough, it spins faster and easier on the lathe. You’ll need to move the cord sideways when it’s in the way. For a right-handed turner, the left hand moves the gouge laterally and the right hand rolls the gouge left and right to use the whole cutting edge in turn. Create the cylinder right up to the scribed lines, making a bevel up to these lines.
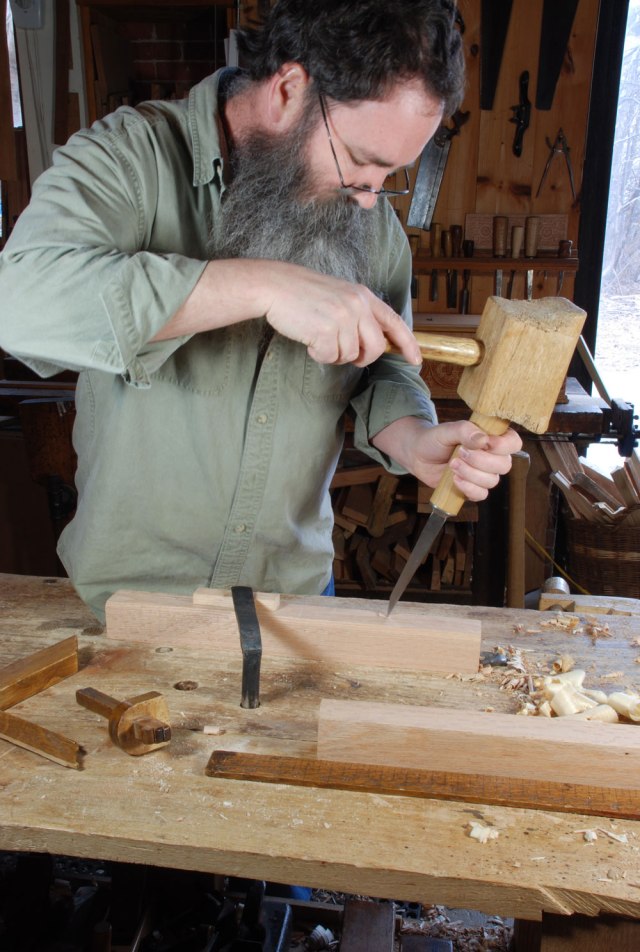
Now comes the hard part: cutting the transition from the square mortised blocks to the turned cylinder. Use a sharp skew chisel, and with some practice it will come. First, cut into the turned portion right up to the line of transition with the skew. Then define the corners. Use the “long” point of the skew and aim the tool just about directly in line with the mark where you want to cut. At the beginning of this cut, your right hand is low, and the tool is aimed high at the stock. As it enters the wood, the right hand comes up, bringing the point of the tool down into the wood. Light cuts are key.
— MB